This post is sponsored by Cricut. All opinions are my own.
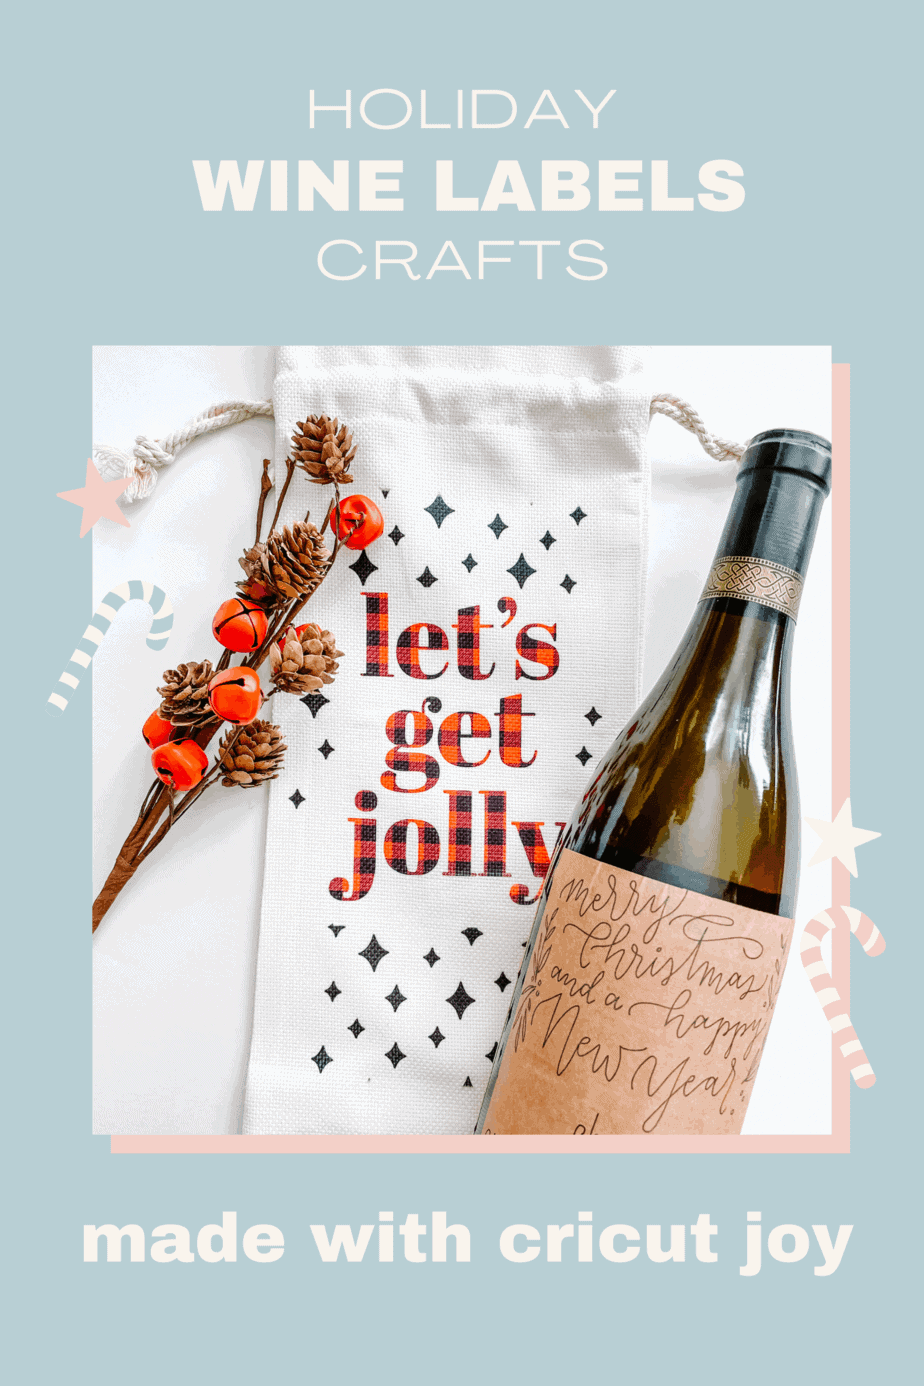
If you are far apart from extended family and friends this year, you can still make the holiday season special. In today’s post, I am going to share how you can create customized wine labels with Cricut Joy.
In prior years, we used to visit friend’s homes, eat dinner around a large table, and exchange gifts. 2020 threw a wrench in a lot of plans, but you can still surprise and delight your friends with this gift idea.
Who can relate to the belief of less is more when it comes to gift-giving? For example, wine is one of the best gifts because it can be inexpensive, it doesn’t add to clutter, and it can be shared with multiple people!
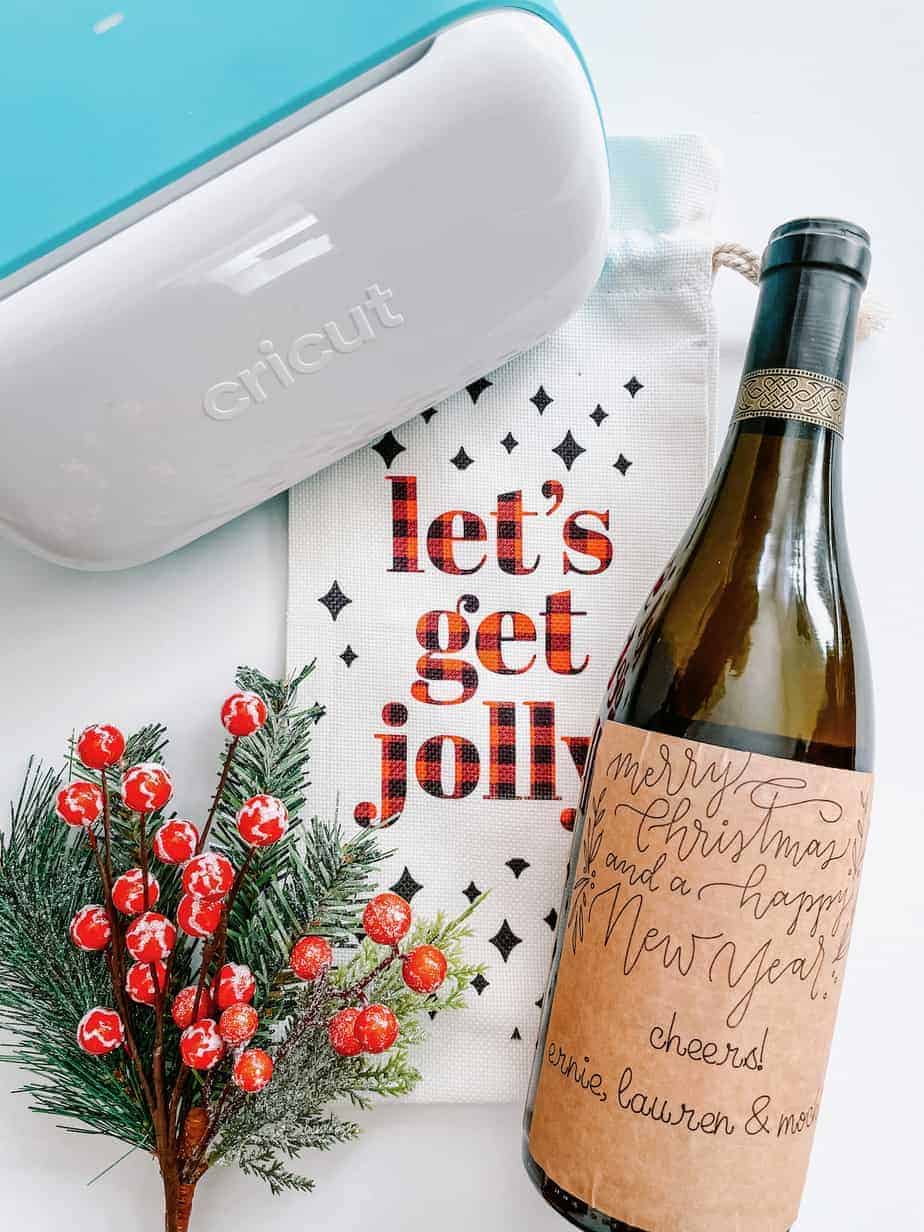
In this post, I am going to show you how to take it up a notch by making the gift personalized with custom wine labels. It’s incredibly easy and all you need is a Cricut Joy and a few supplies.
Cricut Joy Holiday Wine Labels
Supplies
- Cricut Joy
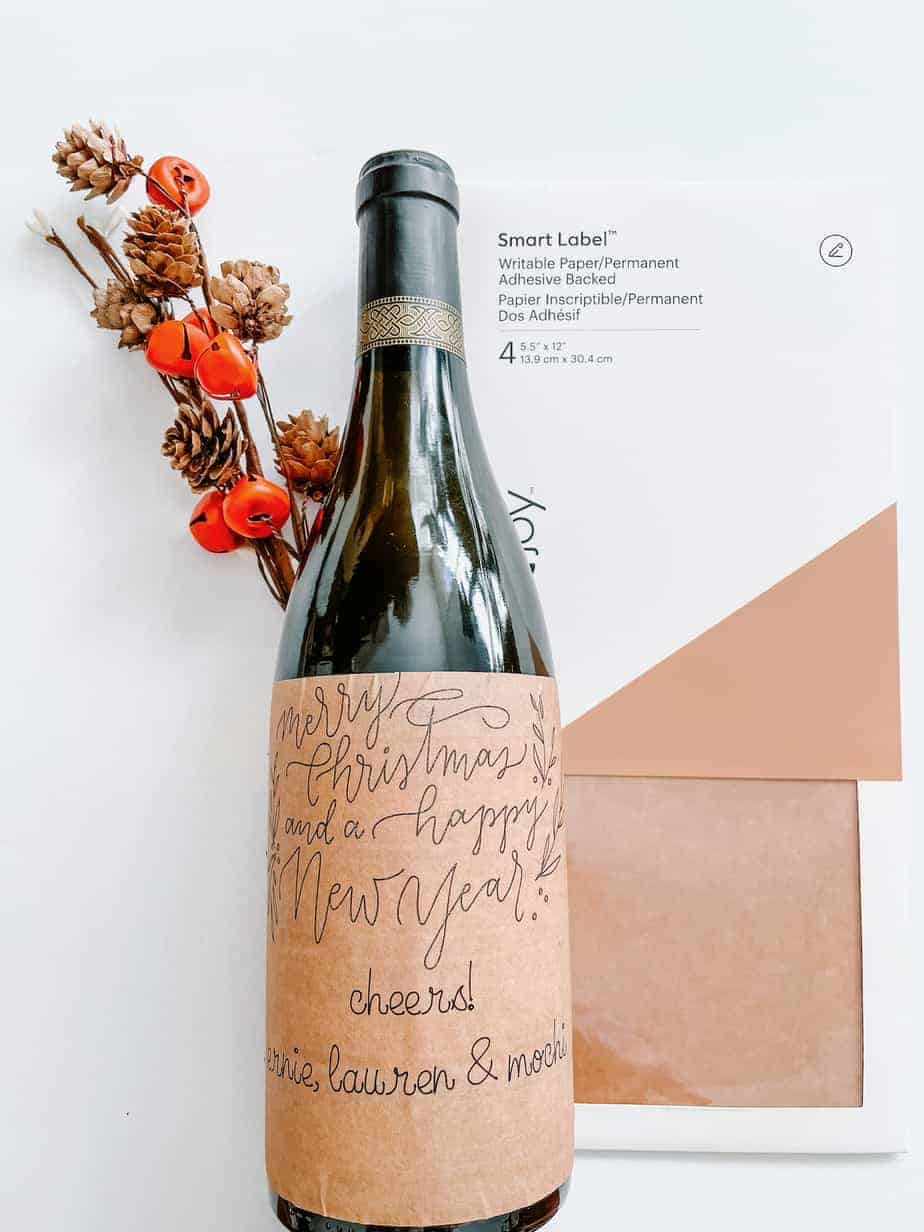
- Smart Label™ Writable Paper for Cricut Joy
- Glitter Gel Pens for Cricut Joy or Fine Point Pens for Cricut Joy
Directions
The Holiday Wine Labels project is saved on Cricut Design Space.
- Start off by opening the project in Cricut Design Space by clicking the file link and then ‘customize’.
- I have sized the wine label to be 4.3″ wide x 3.9″ tall. This should be a good fit for the flat area of most wine bottles. If you need to resize your label to fit the bottle, adjust the size of the square first.
- Next, click on the Text- Be Mine layer on the right-hand side of the screen. This is where you will change the names of your family.
- After changing the names, be sure that your label is still aligned to be in the middle of the square. You can do this by highlighting all of the layers on the right-hand side (they should all be in grey to show they are highlighted), click ALIGN> center horizontally > center vertically.
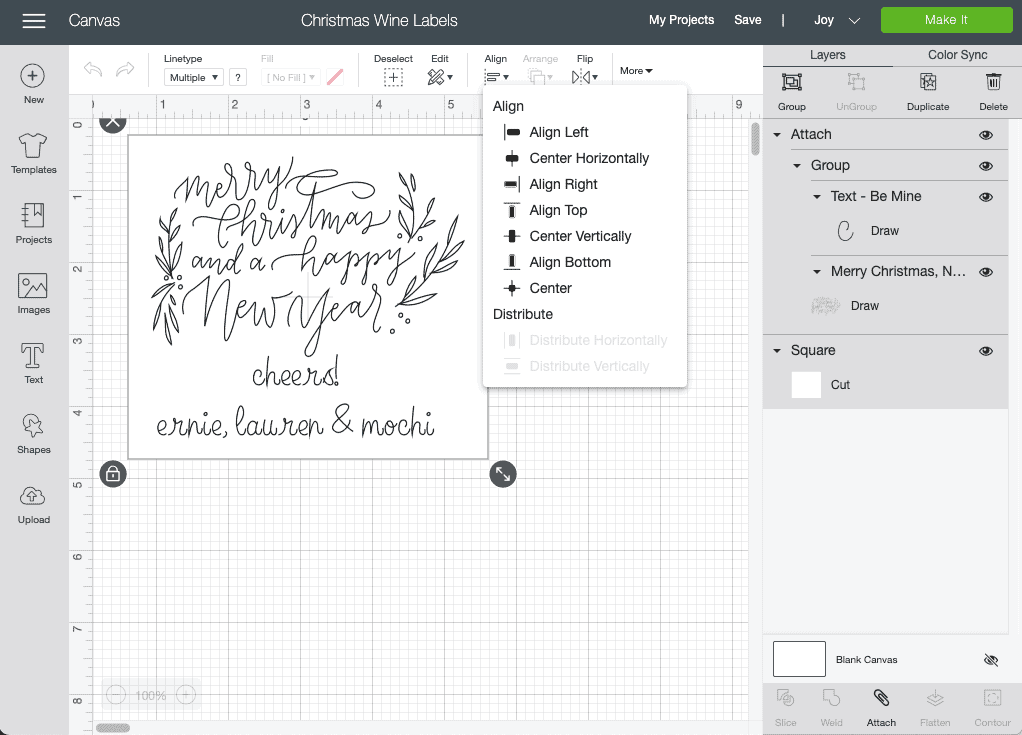
- Currently, the project is set up in that both of the designs will be drawn with a fine-point pen. If you want to change this, click each layer and change the line type.
- After you are happy with the changes, click the green ‘make it’ button!
Put it together
Finally, once the label is complete, let the ink dry for 3-5 minutes before attempting to put the label on the bottle.
There is a hack to take off wine labels by soaking them in warm water and baking soda. But if pressed for time, the kraft paper is thick enough to cover most labels.
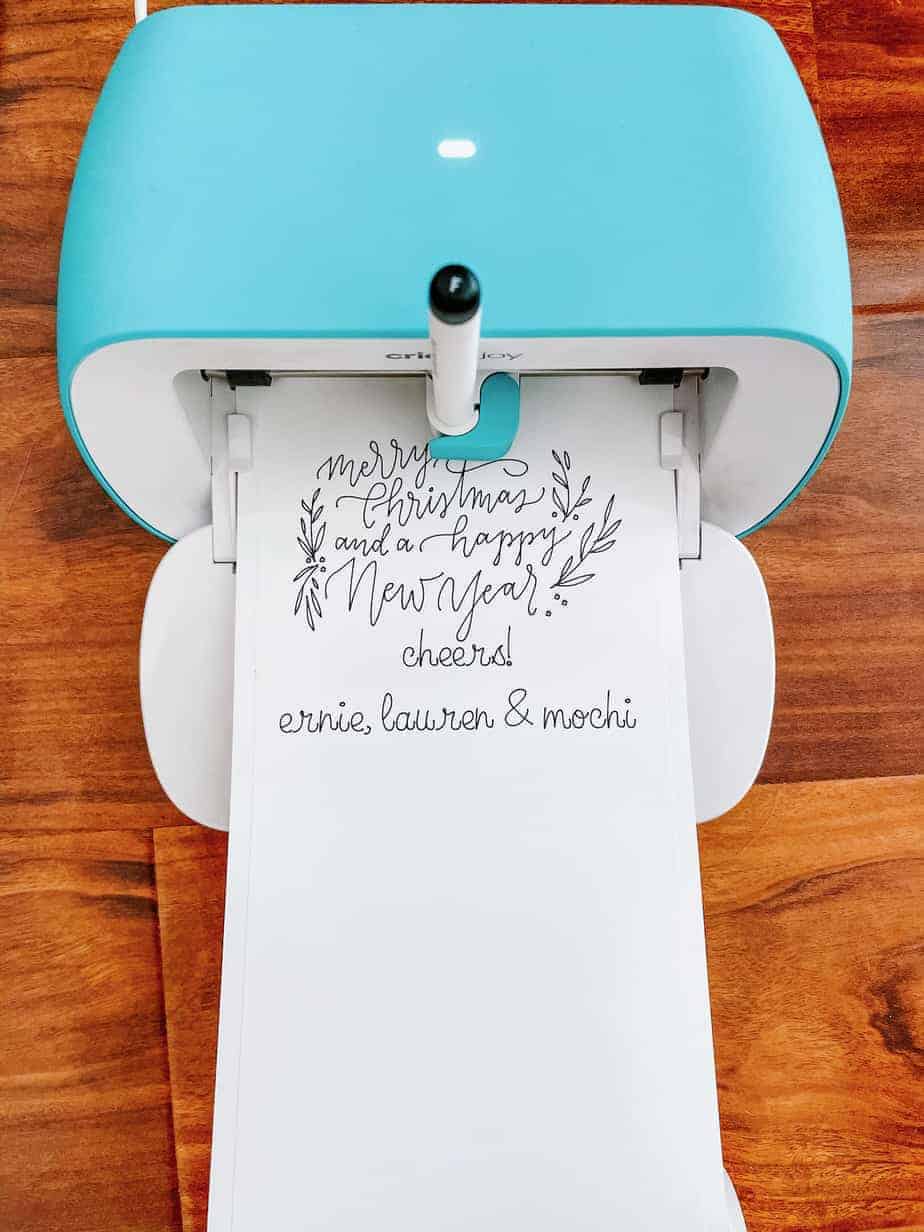
Helpful tip
The project was tested with the Smart Label™ Writable Vinyl for Cricut Joy, but it was too thin to cover over existing wine labels. This is why the suggestion of using Smart Label™ Writable Paper for Cricut Joy for this project was made.
Social Distancing Champion Wine Label
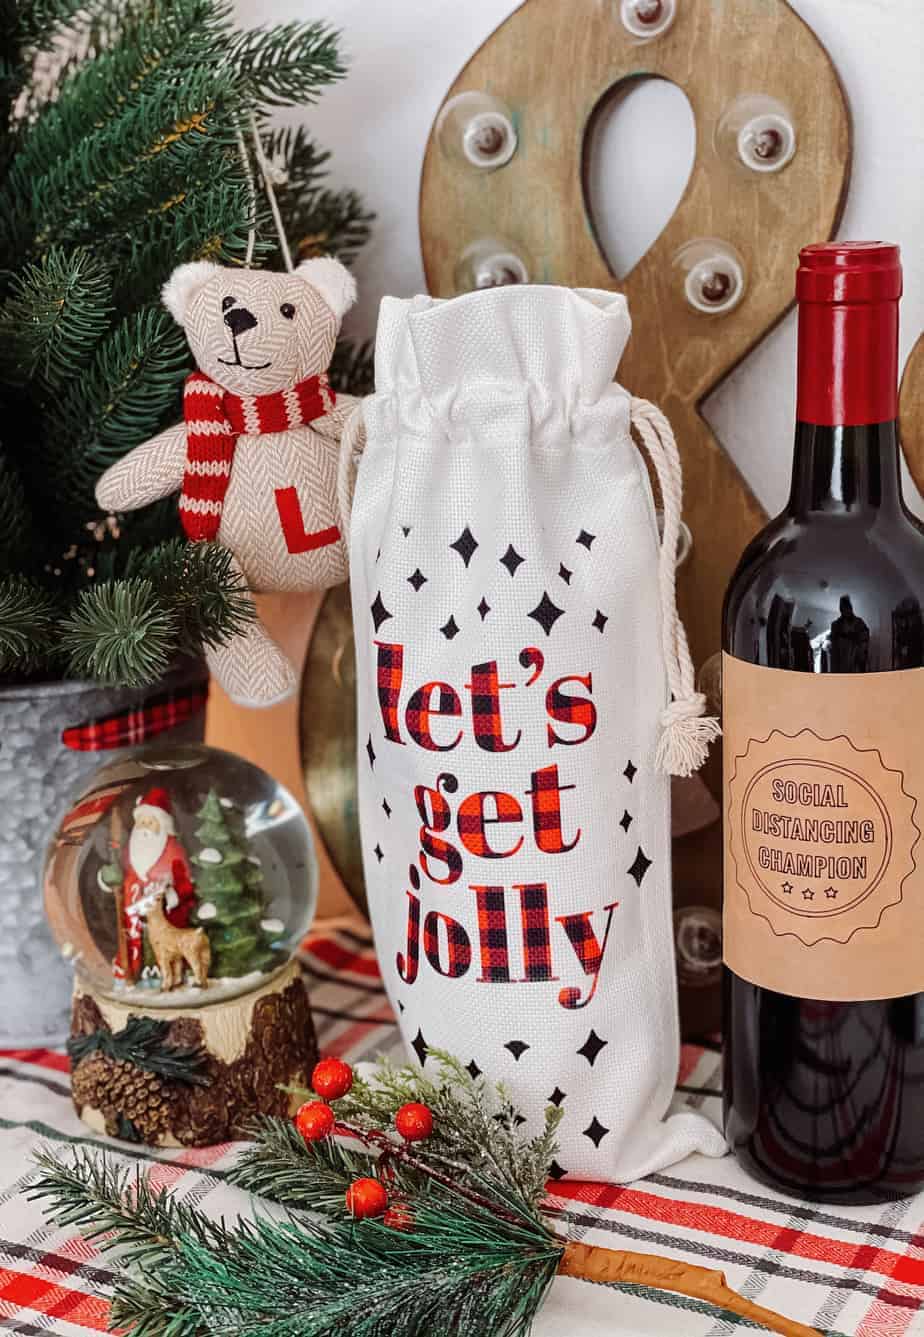
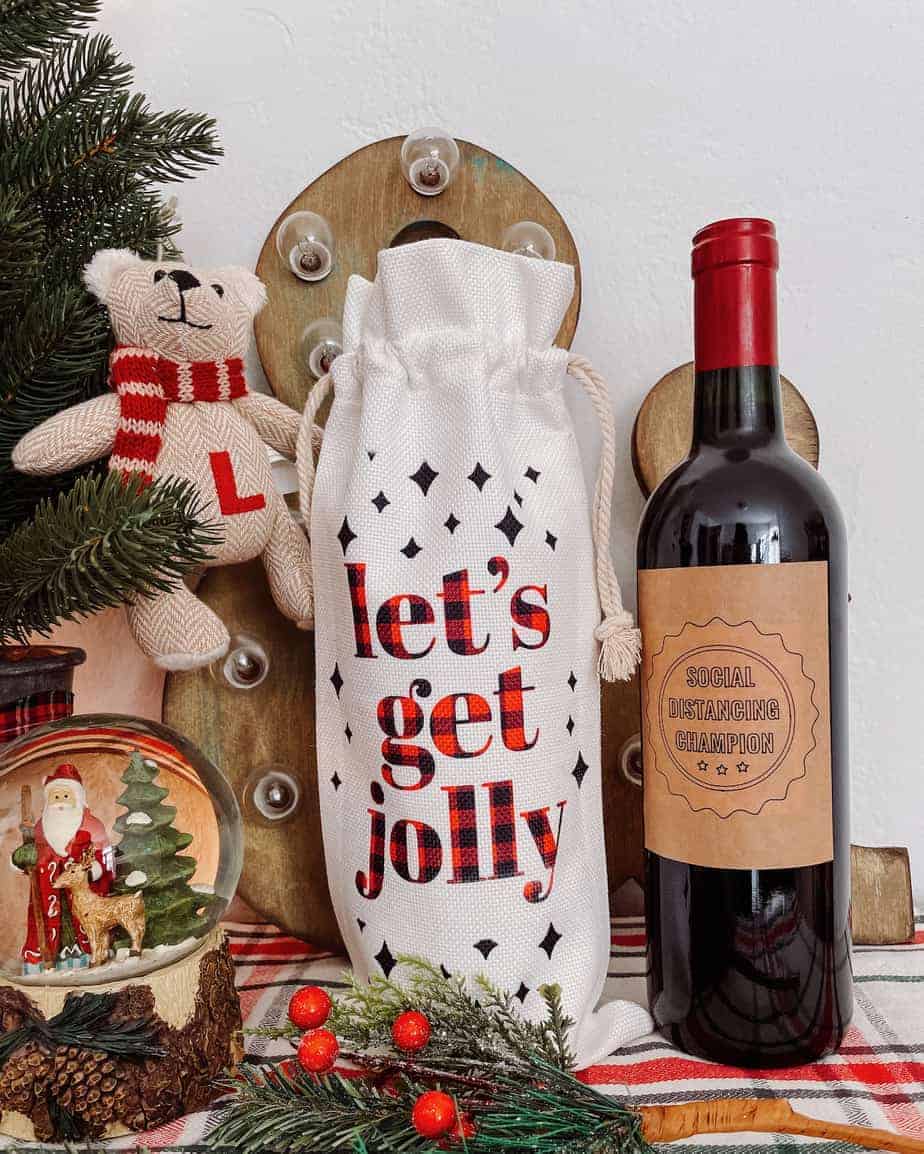
As I was creating wine labels for friends, I thought it would be fun to create one that celebrates those who are social distancing champions this holiday season.
The Social Distancing Champion wine label is ready to go on the Cricut Design Space with this link.
This holiday season, make sure Cricut Joy is on your holiday wish list! Let me know in the comments what you will make this holiday season!

