Guest post by Christine at Dimes and Donuts
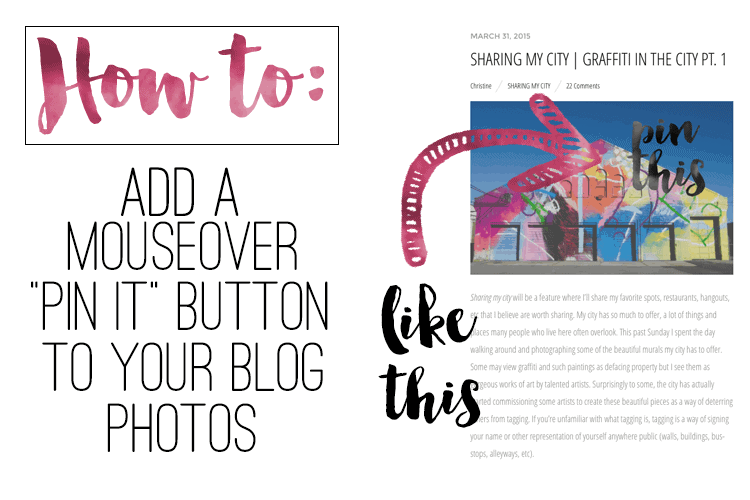
Hey everyone! Have you ever noticed the fun little “pin it” buttons bloggers have on their pages? For example, Lauren has one in the center of her blog post photos. I recently added a little “pin this” button to my own blog after much time searching for an easier method than dealing with more code. If you’re like me then you like to have easy ways to personalize your blog. In this post, I’m going to teach you how I did just that!
Adding a personalized button is a great way to make sure you have “pinnable” content. Pinterest has become one of the most popular websites for generating viewers. Following these easy steps will ensure your viewers are able to pin your content to their Pinterest boards.
To begin this tutorial, log into your WordPress blog. (Sorry, Blogger users! This is a WordPress only tutorial.)
1. Once you have logged into your WordPress account, from your Dashboard select “Plugins” -> “Add New.”
2. Search for “jQuery Pin It Button For Images” A couple more plugin options will come up but I have found this particular one to be the best option. Click “Install Now.”
3. Head back to your “Plugins” -> “Installed Plugins” page and make sure “jQuery Pin It Button For Images” has been activated.
4. Once you are sure your plugin has been activated, click on “Settings”

5. Once on the “Settings” page you will be able to choose which pages you would like your “pin it” button to show up on. For example, your home page, any “pages” you have made, single posts, etc.

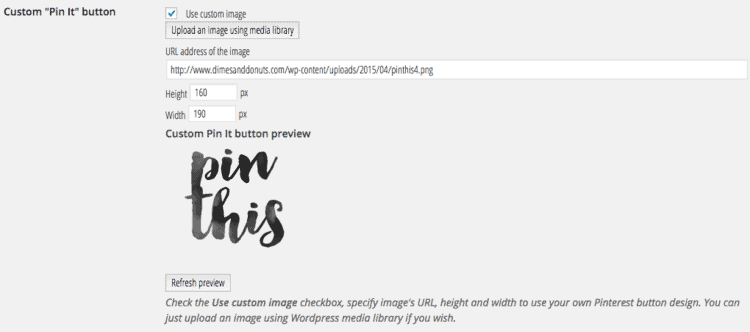
6. The following section is the fun stuff! This is where you can customize your button with your own image, select the location of your button on your images, the size of your button, and if you’d like your images to become transparent when they hover over.
7. If you have some basic knowledge of Photoshop, you can create and upload your own button. If you’re not familiar with Photoshop, there are a bunch of free buttons that can be found on Pinterest.
8. If you do have a basic knowledge of Photoshop, my last tips to remember are to make sure you “Save for Web.” Make sure “Matte” is not selected, and save your file as a PNG. Making sure you save your file this way will ensure your “pin it” button is the best quality possible!
9. Head over to your own blog and look at your awesome, new Pinterest button!
I hope this will help some of you if you have any questions please don’t hesitate to ask. If you end up making yourself a button, let me know in the comments, I’d love to see what you’ve come up with!


5 responses
Never tried with spinach leaves. creative….
I love using spinach in all my smoothies and this one looks great! Thank you for sharing!! xx
This looks absolutely DELISH! I love using spinach in my smoothies. Going to give this one a whirl tomorrow.
xo katie // a touch of teal
This smoothie looks amazing, I love the addition of chia seeds with the yogurt… I usually only do one or the other, I look forward to trying them together.
I love adding yogurt to my smoothies to make them more like a meal! Can’t wait to click through and check out Mountain High! 🙂