This post is sponsored by nutter puffs, all opinions are my own.
You don’t need a lot of equipment and software to make your videos look professional. You just need to know a few tricks! Here is how I edit my videos on my phone.
When creating a video, having lots of content, ie footage is key. It’s a terrible feeling when you sit down to edit your video and realize that you either don’t have enough footage to tell your story or missing key scenes.
Storyboard your video
Re-filming is a pain in the butt! To make sure that you don’t miss any necessary footage in your video, write down which scenes you would like to film. It can give you a better sense of which props you need, angles, etc.
Editing Apps
When it comes to editing your video, you have a lot of choices right on your phone!
If you have an iPhone, I recommend using iMovie. But if you don’t have an iPhone or have an Android, I also have worked with Pocket Video and it’s very intuitive.
With these apps, you are able to edit your video without the hassle of sending files to your computer and edit on the go without your laptop.


When editing videos, it can be time-consuming. For example, a three-minute video could take as long as 5 hours!
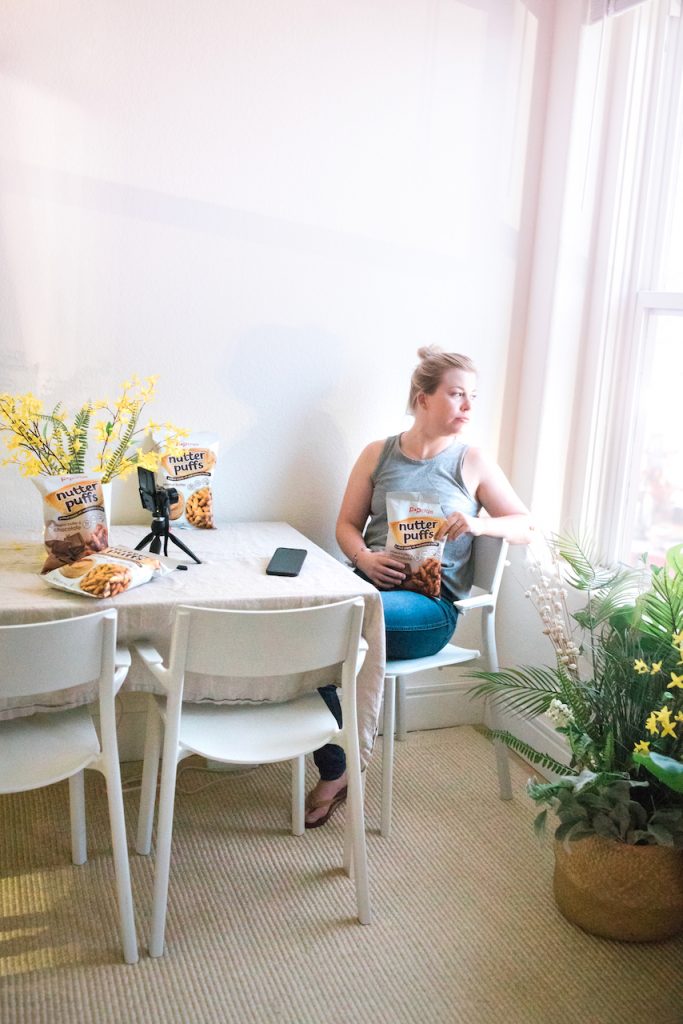
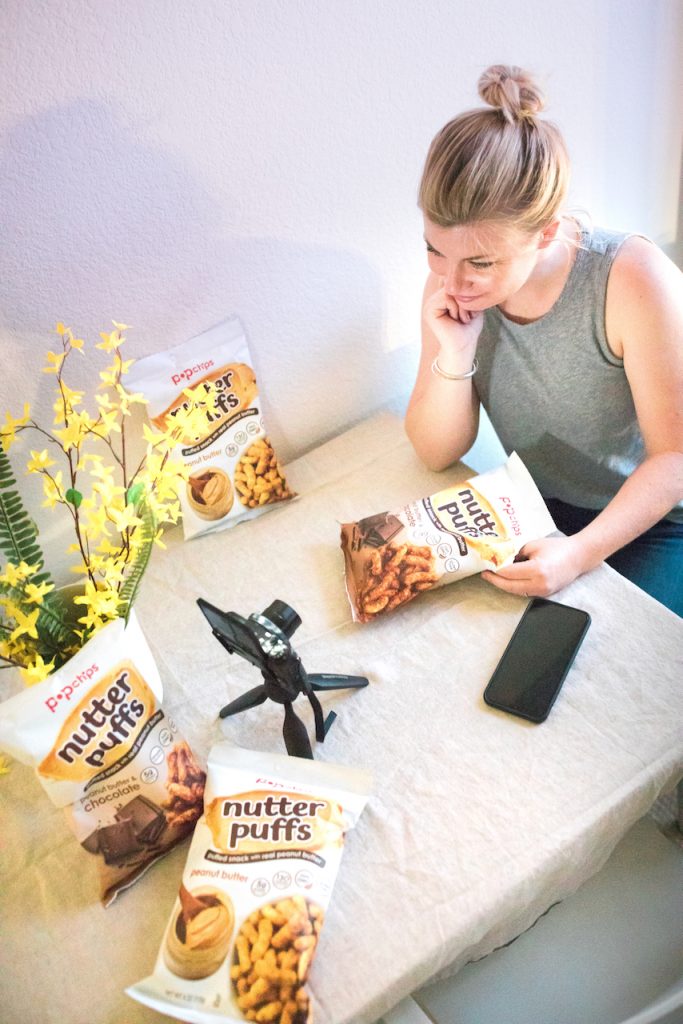
nutter puffs is a crispy crave-worthy snack that perfectly marries peanut butter and chocolate. (Also, there is a solo peanut butter version). If you are like me, you may think that eating peanut butter and chocolate might seem indulgent, but nutter puffs are really light, vegan, and have 5 grams of protein.
Here’s why it’s the perfect snack while video editing…your fingers don’t get sticky while eating! Yes, while eating nutter puffs, your fingers don’t get sticky and you can still touch your keyboard. Praise hands!
Purchase nutter puffs at your local grocery
Color grade your video
To take the final edit of your video to the next level, I recommend color grading your video. Color grading is the process of altering and enhancing the color of your film like you would on your photos.
Luckily, apps have made this so easy to do if you are not an expert or don’t have the time to edit each clip!
Once I have completely edited my video to my liking, I then save the video and import it into VSCO. If you have ever used the VSCO app to edit your photos, you can now edit your videos with VSCO.

On the left is the original edit and on the right is the video with the c3 filter from the VSCO app. This filter makes the colors just a little bit more crisp but doesn’t oversaturate the color.
Once you are done editing your video on VSCO, you are all set to publish! Share that beautiful video on all of your social channels to show off your hard work.